
Filed under: Art and Design at University, Art Progress | Tags: art and design, Art progress, Artwork, dry point printing, intaglio printing, printing, printing process, wolverhampton university
I thought I would share my first experiences trying out dry point printing at University. When etching my first design on plastic (below) of me and my partner Jamie, I didn’t think that the results would turn out as well as they did. I loved the whole process of dry point printing – I found it a lot easier than screen printing and lino printing, but the results were great. I can’t wait to experiment more.

First four prints I did
Above, I first printed the ones that don’t have much shading, as it was my first attempt I didn’t know where to apply most of the ink, but then gradually added a bit more to make the print more effective (below.)
For the process, I wet the paper (so the print can be made) and rubbed oil based ink into the etch on plastic. I then rubbed away the excess ink and added shading with it where needed. I then placed the etching board down and put the damp paper on top. I then put them through the rolling machine, and taped down to dry.

Close up of print.

Butterfly prints
I enjoyed the process so much I decided to do another one. Above is an etch from a photograph I took of a butterfly. I used the same process as above but this time experimented with tissue paper to add colour. As you can see, the print on the right did not turn out as well as I’d have liked, because the tissue paper moved in the printing process.
I will be doing lots more dry point printing next week, and can’t wait to show everyone the results. I am really looking forward to experimenting more with this way of printing, and hopefully putting some in my shop!
Filed under: Art Progress | Tags: Artwork, blossoms, fairies, fairy painting, flowers, latest paintings, mixed media, modelling paste, textured canvas board, twilight, twilight blooms
I have been very busy today! After my long stretch of creative block I finally think I am getting out of it. I have painted a 16×16 inch canvas board that I textured a long, long time ago, and 2 9×11 inch thin canvases.

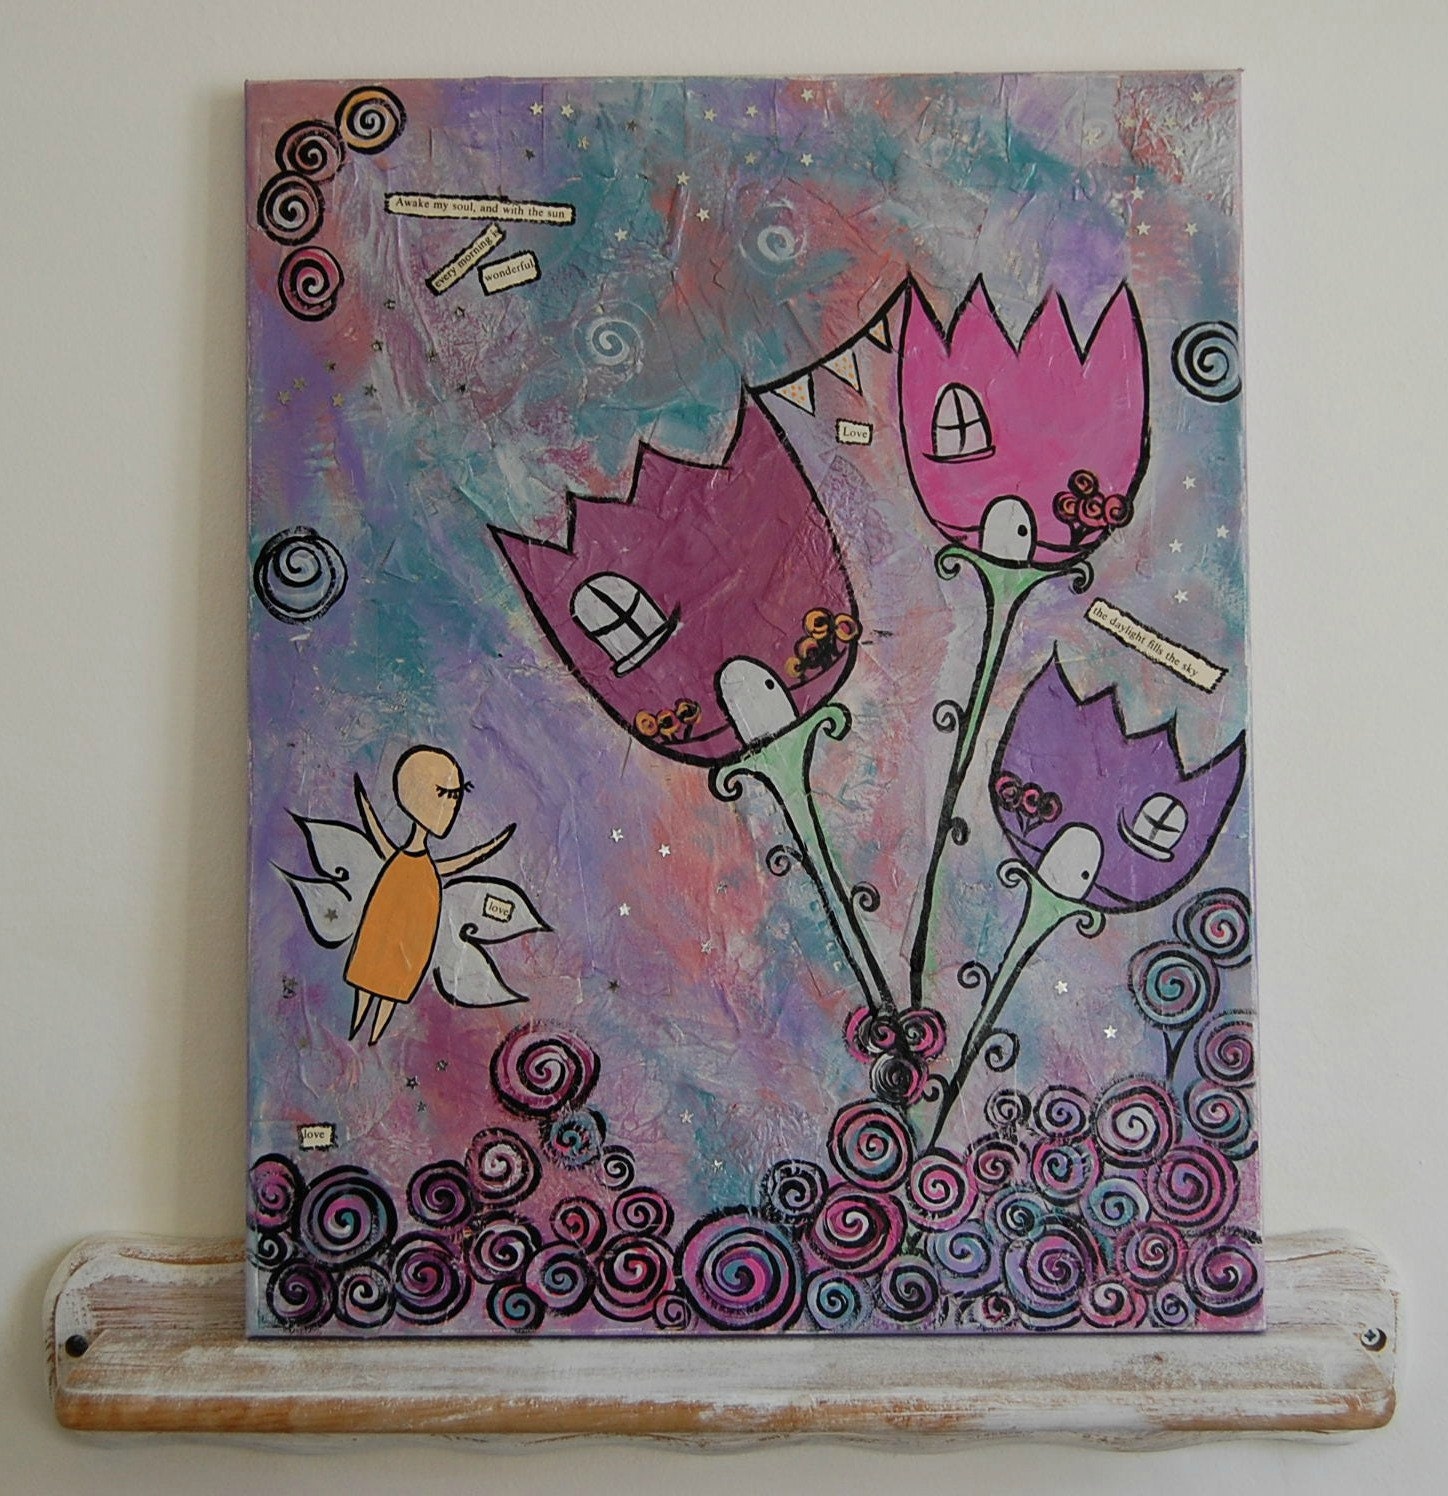
These two are textured with modelling paste and painted in acrylic and emulsion paints. All they need is a varnish and they’re finished! I have called them Twilight Blooms.

This is the painting I did on the canvas board (well, most of it!) I have painted two fairies in a flower garden. I am not yet sure what to call this piece.
They will be available to buy within the next couple of days! Now my mind has had a rest I hope to create a lot more pieces in the near future!
Filed under: Music Posts | Tags: Artwork, broken light bulb, E.P cover, gimp, photography experiment, recording, silent lights uk, unsigned band, wolverhampton birmingham band
Last night Jamie and I did some experimenting with photography for an idea he had about the front cover of his bands up and coming E.P. The image below was created by putting a board over the bath and placing various lamps underneath to get the light effect (I would recommend being safe around water and electricity before trying this at home!) We then broke the light bulb and put it in place before taking the shot.

We edited the photo in post production in gimp. I am very impressed with how it turned out, as Jamie is too. I am very excited for their E.P recording which is in two weeks time (on the 10th of March.)
You can visit their facebook page by clicking on the image above, or their blog here.
Filed under: Doodles and Illustrations | Tags: Artwork, black and white, drawing, dreams, illustration, inspiration, pregnant monster woman, random doodle, scanned, supernatural season 7, the slice girls
Last night I had a dream that I was pregnant, as well as a couple of other girls who I didn’t know, and even though nothing was said in the dream, I felt they were all monsters! I think this had something to do with watching one of the latest episode of Supernatural ‘The Slice Girls.’

Pregnant Monster Woman
Filed under: Art Progress | Tags: 3d paper flowers, Art progress, arts and crafts, Artwork, card, greetings card toppers, ideas, mothers day, paper, paper crafts, Shakespeare's Macbeth, split pins
Last night I made all of these Paper Flowers… I must admit they are addictive to make and I will be using this technique on many creations in the future!

To make these 3D paper flowers I cut various sized circles out of different cards and papers and scrunch them up so they look ruffled. The paper I have used musical note paper, textured paper, colourful card and pages from Shakespeare’s Macbeth, but you could use any paper/card you wish!

After scrunching them up, I place all the ruffled circles together, and make a hole in the middle either with a crafting knife or a pair of scissors. I then use split pins (which you can buy at any stationary shop) to push through the middle and hold them together!
Simple but effective way of making beautiful flowers for your creations. I will be using these on many things such as canvas paintings, cards and making them into magnets!
Filed under: Art Progress | Tags: Art progress, Artwork, etsy shop, mixed media, mother and daughter paintings, mothers day, original artwork, paper flowers, spring is coming, textured canvases and canvas boards
We didn’t get up until after 12pm today! My aim was to clean the house, put the dinner on by 12 so I could spend all day in the art room painting… but plans never go as they’re meant to in this house! I skipped the housework (and the dinner prep… !) and started painting instead.

Painting in progress
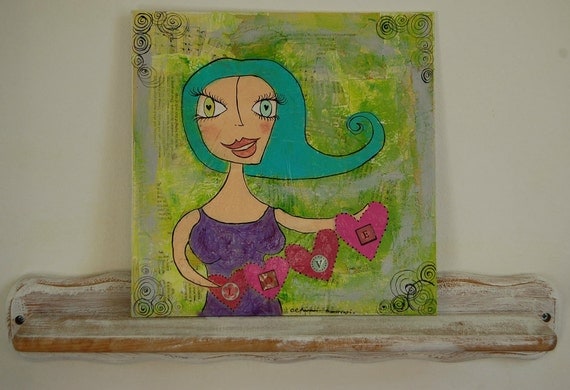
I textured this canvas last night and started painting today. It is a painting of a Mother and her daughter. The daughter is wearing a patchwork dress and holding some balloons, and lovely flowers for her mom for Mother’s Day (see below.) I have since gone over the flowers in black and signed it, so all I need to do now is varnish it and it’s done!

Nearly finished!
I have also been working on these paper flower mixed media paintings. I have textured the 5×7 inch canvas boards with ripped paper and card, and made a flower paper using layers of musical note paper, Shakespearean paper and lined paper and attached them together, then painted on them and stuck them to the board. I hope to also make some magnets and greetings cards like these!

Mixed media canvas board paintings, paper flowers.
These will be available in my Etsy shop tomorrow!
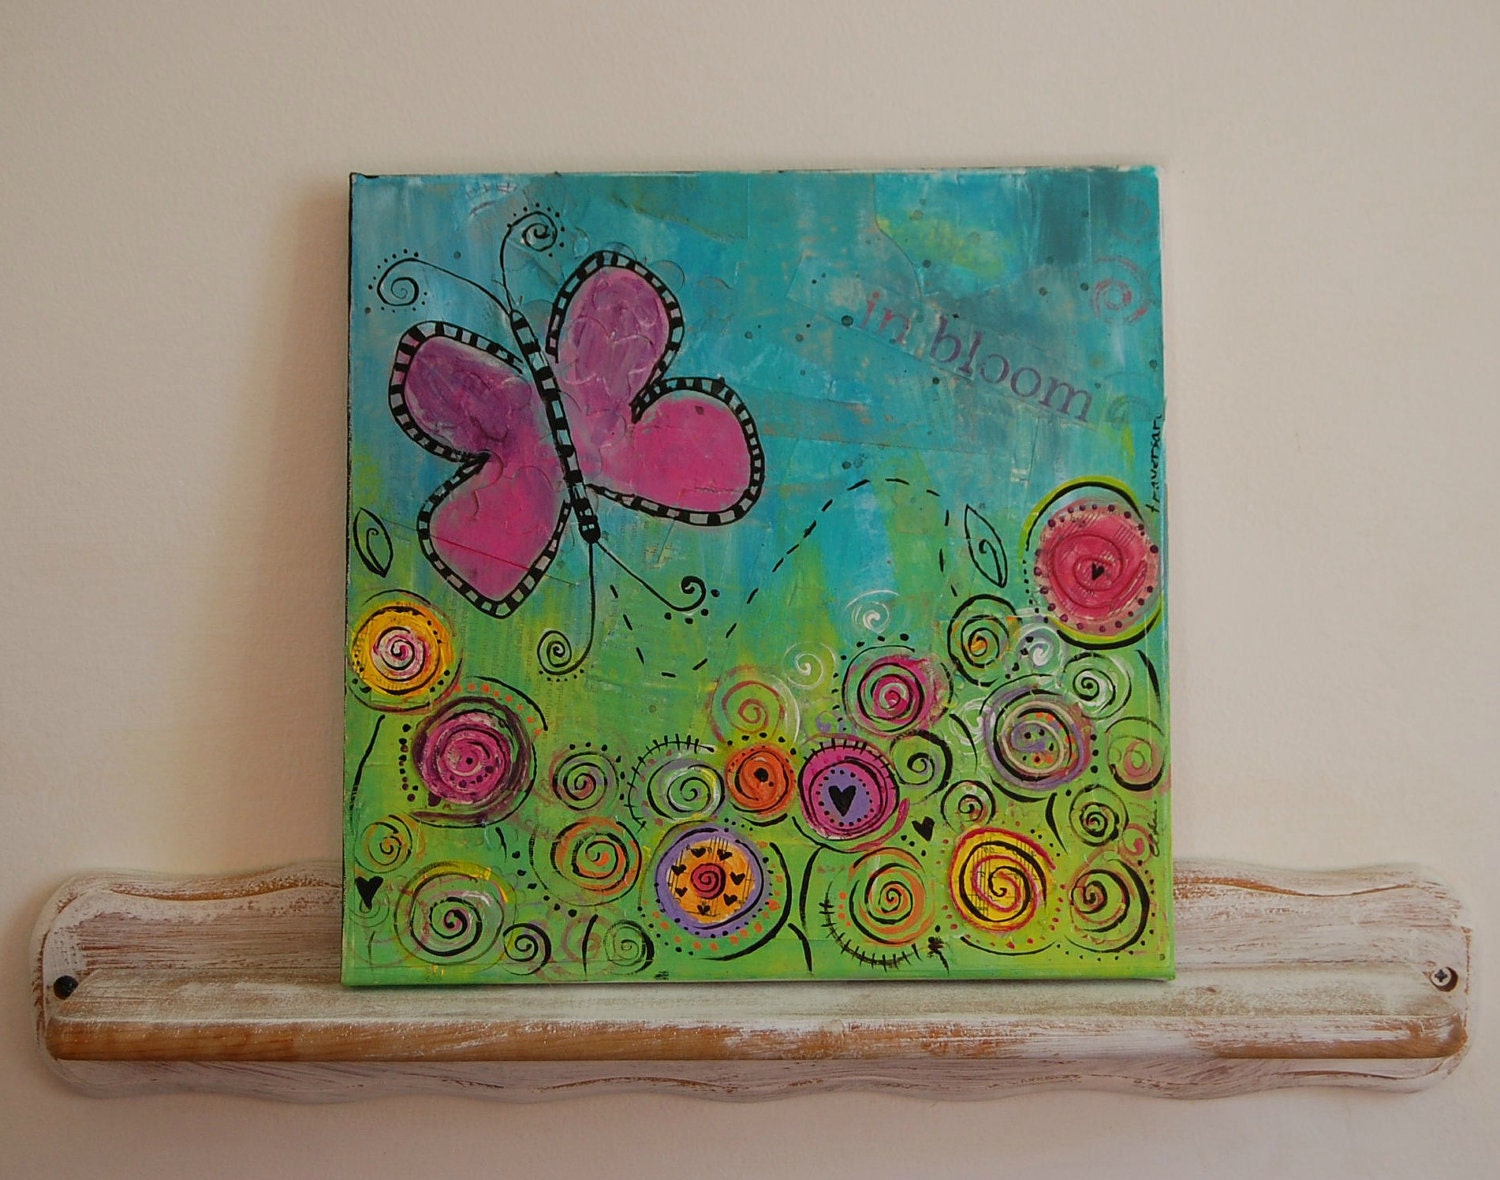
Filed under: Etsy Treasuries, Other Art Posts | Tags: Artwork, etsy treasuries, fairies, in bloom painting, my items in treasuries, Original, valentines day love painting
Today I have been featured in two treasuries – I haven’t really been featured in many treasuries, about 6 or 7, and I am so happy when my item gets chosen for one! Here are a couple of my items that have been featured…. (to view the treasuries just click on the images!)
Filed under: Other Art Posts | Tags: Artwork, craft fair preperation, craft fairs, light house wolverhampton, west midlands crafters, whimsical artwork
I am currently preparing for my first craft fair of the year. It is being hosted by the West Midlands Crafters, a group I started last year for Artists and Crafters in the West Midlands area. It is the second one we are organizing, and hopefully will be a really successful event!
It is going to be held at the Light House (Old CHUBB building) in Wolverhampton on the 10th of March 2012, 10am to 4pm. For more information on the craft fair click here.

This is a picture of the first craft fair I did. I am currently working on some new mini paintings ~ some on canvas board and others on 10cmx10cm canvases. I am also going to be working on some Art Journals, affordable art prints of my sold original pieces and some laminated bookmarks.
I am really excited for this fair – there’s going to be so many amazing crafters there, in such an amazing venue! If you live local to me it would definitely be worth checking out!
Click here to find out more about the West Midlands Crafters.
Filed under: Etsy Treasuries | Tags: Artwork, bright and beautiful, colourful, etsy treasury, handmade, Original, pcfteam treasury, treasuries, unique

Another PCF Team treasury – this time a treasury trade one (which I have never done before.) I think I am becoming obsessed with making treasuries, so I am going to have a couple days break!
Filed under: Other Art Posts | Tags: an artists space is rarely tidy, artist space, artists workshop, Artwork, callys creations, colourful, creative, home business, inspiration, original art, vibrant colours, workshop

